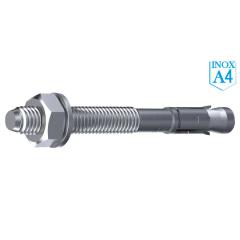
Products description
Properties
- Heavy-duty distance installation for ETICS, clinker or on flat roofs
- Stainless steel prevents unattractive spots of rust
- Approved by building authorities
- Practically no energy loss
- Quick and easy installation
- Infinitely adjustable Iso-Spacer insulation sleeve
- For insulation up to 200 mm
Description and field of application
Thermo Proof is a heavy-duty distance installation system for heat insulated façades (ETICS) comprising:
- Iso-Spacer with large support surface and SW 24 drive for improved transfer of force
- Steel parts made from A4 quality stainless steel; M12 thread; length 300 mm
- Static mixer extension for deep drill holes
Processing and assembly
- Drill through heat installation
- Measure out heat installation
- Make a drill hole in the building material and remove a layer of plaster if required
- Clean the drill hole
- Shorten the threaded rod if required (length = drill hole depth + layer of insulation + fixture + 20 mm) and Iso-Spacer
- In perforated brick, only with perforated sleeve. Place this fully in the drill hole
- Fill the drill hole in the substrate up to 2/3 full with injection mortar or fill the perforated sleeve fully
- Insert the threaded rod with pre-installed Iso-Spacer into the drill hole by turning it slightly
- Screw on the Iso-Spacer until just before the plaster
- Allow the injection mortar to harden
- Seal the gap with silicone
- Install the fixture
This Product was added to our catalogue on 22/06/2023.
Categories
Welcome back!
Last viewed:
Manufacturer
Shipping country
modified eCommerce Shopsoftware © 2009-2025


